Mobile Code Examples for Sizing Images and Responsive HTML

Formsite online forms creates web forms that visitors complete through their browsers. The size of the device used can make the display vary and that’s called responsive design. The elements on the page “respond” to the size available. Using the mobile code examples in this article can help make forms, Success Pages, and Notification emails responsive.


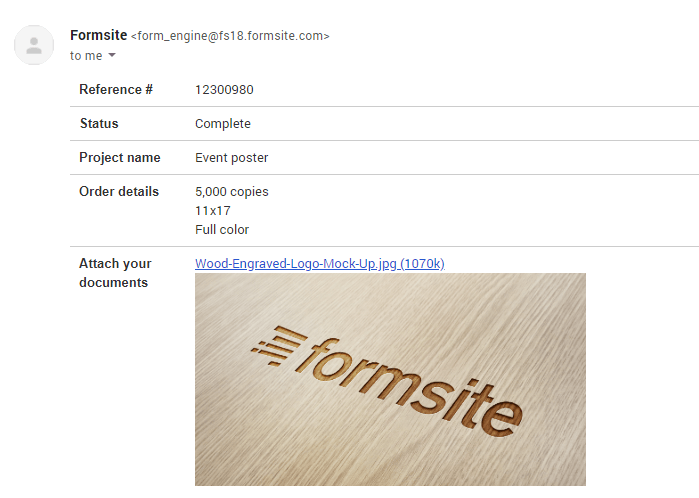


 A popular question is how to add images or
  FormSite’s newest release includes a bulk upload tool for files and images. The easy to use drag & drop uploader lets customers with large numbers of files and images quickly upload them to their account. All paid service levels now have access to the new bulk upload tool, located in your account under Account -> Files & Images.